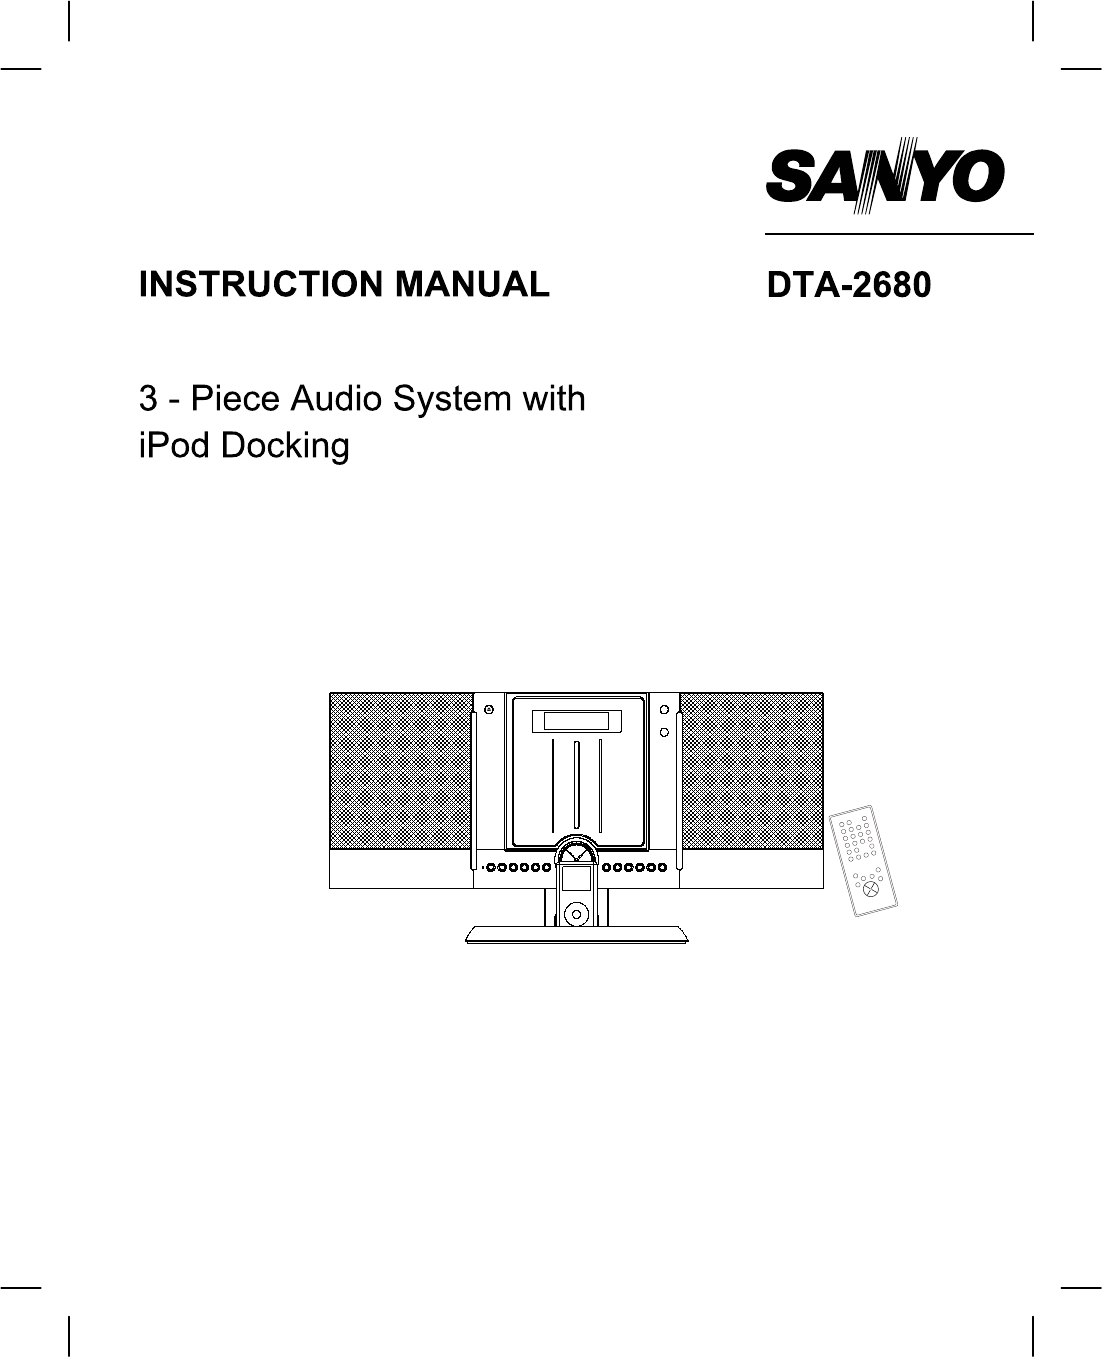
Sanyo DTA-2680 User Manual
Browse online or download User Manual for CD players Sanyo DTA-2680. Sanyo DTA-2680 User's Manual
- Page / 30
- Table of contents
- TROUBLESHOOTING
- BOOKMARKS
- SANYO Canada Inc 1
- SAFETY CERTIFICATION 2
- SAFETY INFORMATION 2
- PORTABLE CART WARNING 4
- (symbol provided by RETAC) 4
- LOCATION OF CONTROLS - UNIT 7
- ANGLE ADJUSTMENT (Speakers) 11
- INSTALLATION (Wall Mounting) 12
- REMOTE CONTROL 13
- POWER SUPPLY 15
- OPERATING INSTRUCTIONS 16
- -) button to adjust 18
- Example : FM mode 19
- Dock Insert Compatibility 25
- Charging your iPod 26
- Listening to your iPod 26
- TROUBLESHOOTING GUIDE 27
- SPECIFICATIONS 28
- WARRANTY 29
Summary of Contents
SANYO Canada Inc.www.sanyo.ca
9INSTALLATION (Speakers and Decorative Insert)DISASSEMBLE AND FIX THE DECORATIVE INSERTTo fix the insert, place it with two holesinto main unit speake
10ANGLE ADJUSTMENT (Speakers)BBAATILT ANGLEInsert the bracket with (B) side and push upward to adjust for desired angle.VERTICAL ANGLEInsert the brack
INSTALLATION (Wall Mounting)Installation options:Wall mountTo mount the center section on the wall:Position the bracket (supplied) on the wall (as sho
REMOTE CONTROL1a1b23Remove the battery tray by pressing point(1a) inside, then sliding point (1b) area atthe same time.Pull out the battery tray.Inst
LOCATION OF CONTROLS - REMOTE CONTROL (Cont.)MUTE ButtonTo mute the soundCD Door OPEN/CLOSE ButtonPress to open or close the CD door at CDmodeSUREWAKE
14POWER SUPPLYBATTERY SUPPLY (For Tuner/Clock Memory Back-up)+-+-NOTE:This unit is equipped with a polarized plug. If youhave difficulty inserting the
15When the AC power is connected, “-- -- : -- --“ shows on the LCD display.Press the POWER/STANDBY button to turn the unit 'ON'.To switch to
16TIMER ON/OFF SETTINGNOTE: The clock should be adjusted before the Timer On/Off setting.Press the / to adjust the hour time up ordown
17BASIC OPERATIONElectronic volume controlElectronic volume control displayPress VOL-DOWN (-) button to adjustsound level down, the volume level (00 -
184.Auto tuning - Press the TUNING forward orbackward buttons momentarily and release. Thetuner will move forward or backward to the nextavailable sta
SAFETY INFORMATIONCAUTION: TO REDUCE THE RISK OF ELECTRIC SHOCK,DO NOT REMOVE COVER.NO USER-SERVICEABLE PARTS INSIDE.REFER SERVICING TO QUALIFIED SERV
19Switch on the power and press the CD PLAY/PAUSE button to select the CD mode.IN PLAY MODEPRESS ONCEPRESS TWICEIN STOP MODEPRESS ONCEBACK TO
20To repeat a track or discRandom play functionPROGRAMMED PLAYBACKReviewing programsPress the PROG button repeatedly. The track numberprogrammed on ea
21PLAYING MP3 DISCSwitch on the power and press the CD PLAY/PAUSE button to select the CD mode.Loading a MP3 disc.Press the FOLDER or
22PROGRAMMED PLAYBACKPress the PROG button once.Press the SKIP or buttons toselect your desired folder; for example folder 3.
23iPod OPERATIONWhen connecting an iPod to this iPod Dock, please ensure that the correct removable insert is used.This iPod Dock comes with 6 removab
24Dock Insert CompatibilityABCD5G withVideo1GB2GB4GBphoto20GB30GB40GB60GB4G20GB40GBmini4GB6GB3G10GB15GB20GB30GB40GBXXXXXXX80GB30GB60GB(1st generation)
Charging your iPodPlease ensure you are using the correct insert for your iPod and it is properly docked.FAILURE TO DO SO MAY CAUSE THE iPod can’t cha
SymptomPossible causeSolutionNoise or sound distorted on AM orFM broadcasts.Station not tuned properly for AMor FMRetune the AM or FM broadcaststation
27AC Power AC 120V, 60HzDC 3V (1.5V x 2 “AAA” batteriesfor tuner and clock memory). Batteries are not supplied.Power Ou
28WARRANTYWARRANTY APPLICATIONNew, unused SANYO Audio products purchased through a SANYO authorized dealer in Canada are warranted againstmanufacturin
2WARNING: Handling the cord on this product or cords associated with accessories sold with this product, will exposeyou to lead, a chemical known to t
SANYO Canada Inc.Printed in China
3Read Instructions - All the safety and operating instructions should be read before theproduct is operated.Retain Instructions - The safety and opera
4Grounding or Polarization - This product may be equipped with a polarized alternating current lineplug (a plug having one blade wider than the other)
Replacement Parts - When replacement parts are required, be sure the service technician has usedreplacement parts specified by the manufacturer or hav
LOCATION OF CONTROLS - UNIT1122 34 5678 91415161718192023242526272822610 112113293031 36383739354132333440
LOCATION OF CONTROLS - UNIT (cont.)Detachable Speaker (L)InsertCD Door OPEN/CLOSE ButtonOpen or close the CD dooriPod/CD-SKIP/TUNING/CLOCK TimeBackwar
33.AUDIO OUT for iPod (R)AUDIO OUT for iPod (L)VIDEO OUT for iPodHEADPHONE Jack (3.5mm)Connect a pair of stereo headphones(not supplied) for private l
© 2020, manymanuals.com. All rights reserved. | 0.804 s |
 Manymanuals.com
 Manymanuals.de
 Manymanuals.fr
 Manymanuals.it
 Manymanuals.pl
 Manymanuals.cz
 Manymanuals.es
 Manymanuals-pt.com
Comments to this Manuals