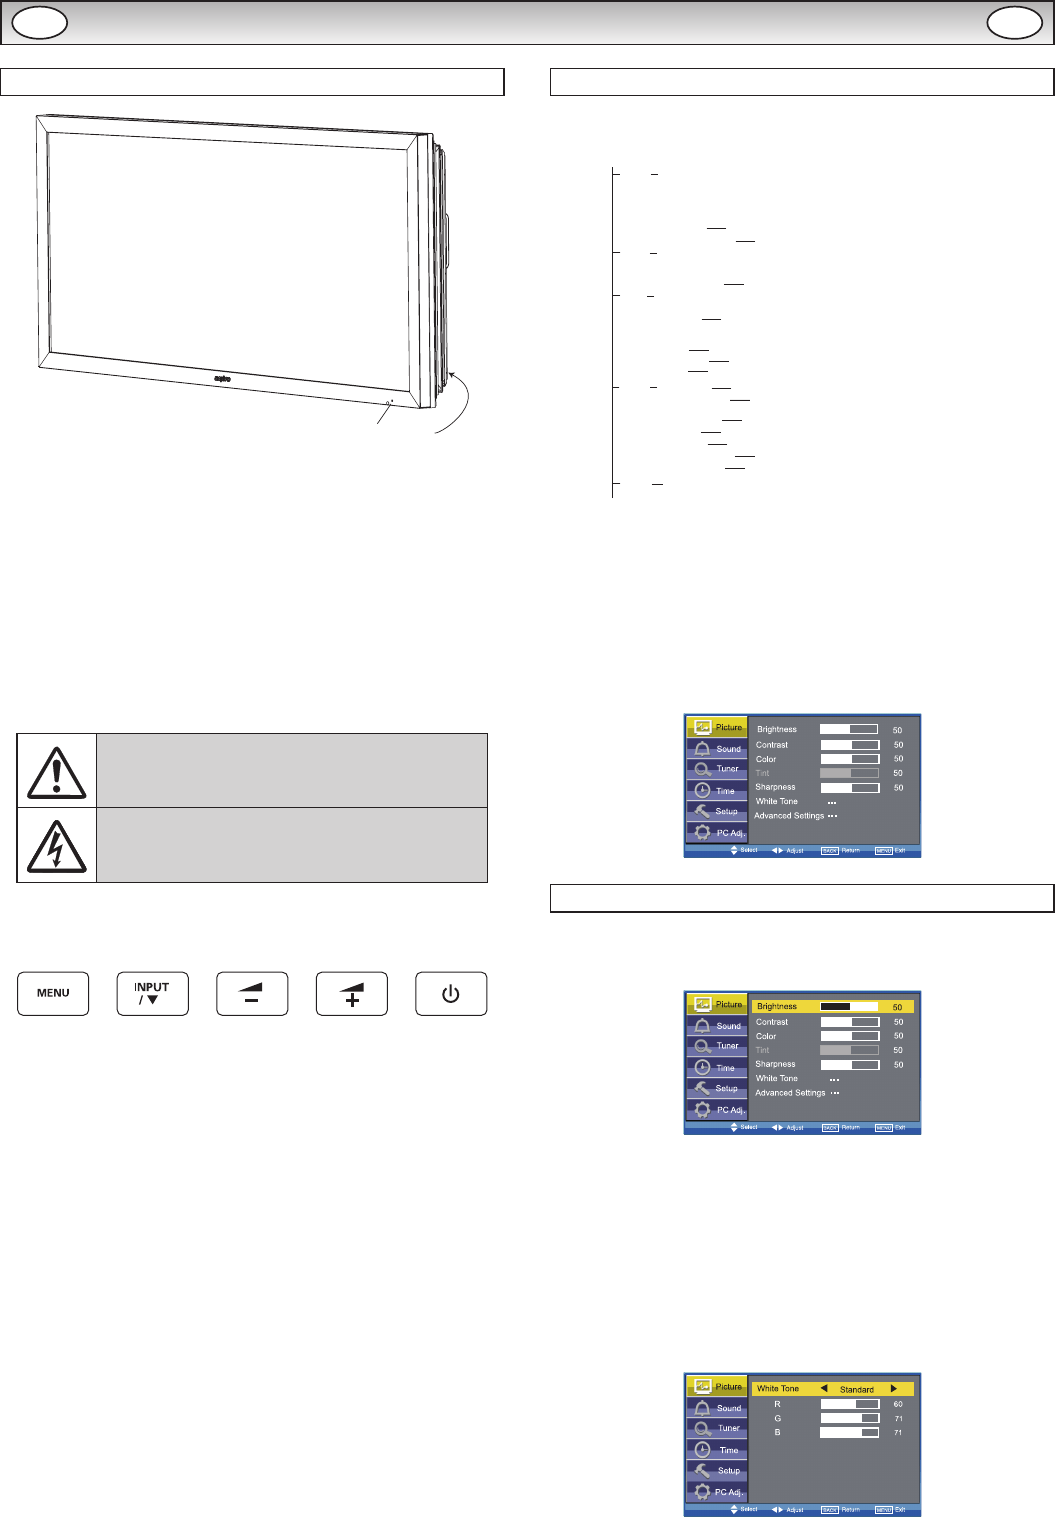
INSTALLATION
Controls and Menus
q
The LCD display has a Standby light to show there is power.
Switching into/from standby mode
The Standby mode is used for switching the LCD monitor off for short
periods of time. In standby mode the monitor is switched off but is still
receiving mains power.
¡To turn the monitor into standby mode, press the 4 button.
The blue power indicator illuminates more brightly.
¡To turn the monitor ON from standby mode, press the 4 button
again.
If you find the power indicator flashing, disconnect
power cord from the power outlet and contact our
Service desk.
This warning is a sign to let you know that the
power protection function of this TV set is now
operating.
w
Control buttons (bottom corner of back cover)
Menu button: Used to display or cancel main menu.
Input/d button: Switch between AV1, RGB, AV2, AV3, PC , DVI
or Network mode. It is also used to provide sub
menu selection from the Main Menu.
1 or 2 buttons: provide up and down adjustments.
4 button: To switch to standby mode (to switch off completely
disconnect the monitor from the power supply).
Menu Operation
Many of your monitors functions are controlled through the menu
function, using the remote control.
MENU
Picture
Brightness
Contrast
Color
Tint (only if NTSC equipment is detected)
Sharpness
White Tone
White Tone / R / G / B
Advanced Setting
DCDi / ACC/ACM / CCS / DNR / MPEG NR / Film Mode
Sound
Treble
Bass
Balance
Bass Expander
On / Off
Time
Setup
PC Adj.
Current Time
Schedule
Weekday
On Program
AV1 / RGB / AV 2 / AV3 / PC / DVI / Network
Menu Setup
PIP / POP Setup
Initial Settings
Text Language
Tile Mode
AV2 Setting
Western / Eastern / Russian / Arabic / Farsi
Tile Mode Active / H/V_Sets / H/V Location / Bezel H/V Adjustment
RGBHV / YPbPr
Auto Adjust
H-Position
V-Position
Clock
Phase
Language / H/V-Position / Duration / Transparence
PIP/POP Mode / Main/Sub Source / PIP Position
Time
Action
Active
Power On / Power Off
On / Off
1 - 20
Current Weekday
Native Resolution
PC Power save
XGA / WXGA 1366x768
On / Off
During menu operation the bottom of the on screen display will show
which controls can be used for menu navigation.
Press the MENU button to enter the main menu. Whenever main
menu is accessed initially, PICTURE will be the default selection.
A sub menu is selected using the 5 or 6 button and pressing
the 1 or 2 button when the required sub menu is highlighted.
When you have finished you can press the BACK button to return to
the previous menu, press the MENU button to exit the menu operation.
Picture menu
1. Press the MENU button. PICTURE will be the default selection.
Press the 1 or 2 button to enter.
Set the picture settings for your “personal” preference.
2. Use the 5 or 6 button to select eg. Brightness and the 1 or
2 button to adjust levels.
n White Tone
May be used to adjust the color tone of the picture. Use the 5 or
6 button to select White Tone and press the 1 or 2 button
to enter the sub menu. You can select Personal, Cool, Standard or
Warm settings by using the 1 or 2 button. To adjust the color
tone of the picture by using the 5 or 6 button to select Red(R),
Green(G) or Blue(B) and the 1 or 2 button to adjust levels.
These settings will be stored in personal mode automatically.
 (7 pages)
 (33 pages)

 (68 pages)
 (22 pages)
 Manymanuals.com
 Manymanuals.de
 Manymanuals.fr
 Manymanuals.it
 Manymanuals.pl
 Manymanuals.cz
 Manymanuals.es
 Manymanuals-pt.com
Comments to this Manuals