Sanyo DVR-HT120 User Manual
Browse online or download User Manual for Digital Video Recorders (DVR) Sanyo DVR-HT120. Sanyo DVR-HT120 User's Manual
- Page / 40
- Table of contents
- TROUBLESHOOTING
- BOOKMARKS
- DVR-HT120 1
- PRECAUTIONS 2
- CONTENTS 3
- PART NAMES & FUNCTIONS 4
- Rear Panel 5
- Remote Control 6
- Operation Status Display 7
- Disc Information 8
- Connecting audio equipment 12
- DV camcorder,etc 14
- Connecting the Main Lead 15
- Initial Settings 15
- Auto-setting the channel 16
- Setting the Clock 16
- RECORDING 18
- Timer Recording 19
- Satellite Receiver) 23
- DISC PLAYBACK 24
- LISTENING TO MUSIC 25
- Playing Back MP3 Discs 26
- Playable Discs 27
- Slide Show 28
- EDITING & DISC MANAGEMENT 29
- Editing Titles 30
- Disc settings 30
- Finalising DVD+R Discs 31
- Make DVD Compatible 31
- DVD RECORDER SETTINGS 32
- Audio Output Settings 33
- Setting the Language 34
- Recording Settings 35
- Parental Level Control 35
- Enter Passcode to Continue 36
- TROUBLESHOOTING 37
- MAINTENANCE 39
- SPECIFICATIONS 39
- GUARANTEE TO CUSTOMER 40
Summary of Contents
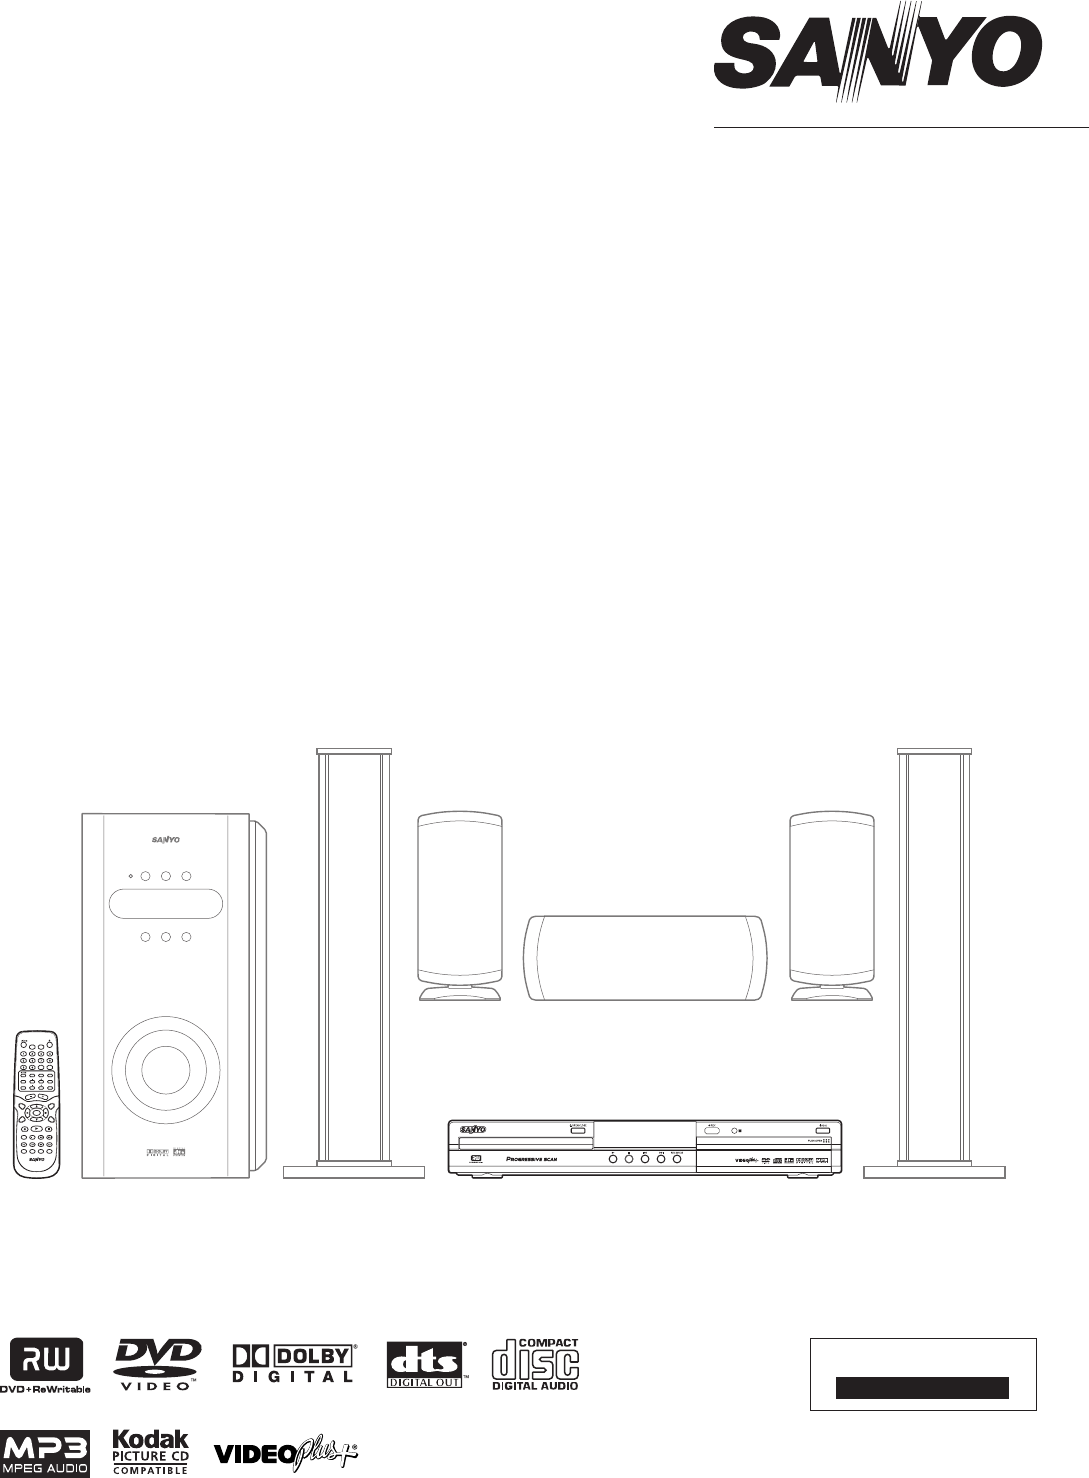
INSTRUCTION MANUALRecordable DVDHome Theatre SystemDVR-HT120Problems with set up?Call 0870 240 7475Calls cost a maximum of 8p per minute during peak p
9INSTALLATION, CONNECTION & SETTING THE CHANNELNOTE:- Do not connect the mains lead to an AC outlet until all connections have been made.- Pleas
10When connecting to a TV without a SCART terminalConnection without using the SCART socket cableConnecting to a TV with the audio and video leads.If
11Connecting a satellite receiverFor Digital Cable and Satellite TV users please connect your decoder’s output to this unit’s input.Use a SCART cable
12Connecting to a tape deckUse an audio cord to connect the AUDIO OUT on the unit to the audio input on a tape deck.LINE INAudio lead(not supplied)Tap
13When connecting a VCR, etc. having an S-video terminal, connect by an S-video lead.R-AUDIO-L VIDEOS-VIDEOAUDIOVIDEOINPUT1VCR, etc.S-video lead (not
14Connecting the Main LeadAfter all connections have been made, connect the mains lead to an AC outlet. When the power supply is connected for the fi r
15Auto-setting the channel1. The following screen is displayed. Check the antenna connection and press the k button.Connect AntennaPress OK to Contin
163. The search for channels that can be received begins from the smallest frequency or channel No. of the channel displayed at “Entry/Search” and in
17RECORDINGRecording Programmes during Reception1. Turn the TV on and select input from the DVD recorder. (For details on operation methods, refer to
18To One Touch Recording (OTR)The power can be automatically turned off after recording for the specifi ed time without setting timer recording. DVD re
1PRECAUTIONSTHIS PRODUCT CONTAINS A LOW POWER LASER DEVICE. TO ENSURE CONTINUED SAFETY DO NOT REMOVE ANY COVERS OR ATTEMPT TO GAIN ACCESS TO THE INSID
19NOTE:- What is “VPS/PDC?” “VPS” (Video Programming System) and “PDC” (Programme Delivery Control) are mechanisms for controlling start of recordin
20Timer recording without using “Video Plus+ code”1. Turn the TV on and select input from the DVD recorder. (For details on operation methods, refer
21Checking, Changing and Deleting Reservations1. Turn the TV on and select input from the DVD recorder. (For details on operation methods, refer to y
22Recording Video from Other AV EquipmentVideo output from video cameras and other AV equipment can be recorded on the DVD recorder.NOTE:- Prepare ot
23DISC PLAYBACKBasic Operations1. Turn the TV on and select input from the DVD recorder. (For details on operation methods, refer to your TV’s manual
24Various Playback Operations Using T/C ToolsWhen you press T/C during playback or while playback is paused, the “T/C Tools” menu is displayed.Select
25Repeat Playback, Random Playback, Intro PlaybackEach press of the PLAY MODE button during playback displays the play modes. Press the k button to se
26VIEWING JPEG CD PHOTOS & IMAGESPlayable DiscsDiscs recorded with images saved in JPEG format such as KODAK Picture CDs can be played on the DVD
27Displaying Photos in the Slide ShowSpecify the roll in the thumbnail display, and press the k button to start the slide show.Enlarging imagesWhen ZO
28EDITING & DISC MANAGEMENTEditing ChaptersA marker will be set every few minutes if the "Auto Chapter" function is activated in the &qu
2Remote control x 1R6 (HP 7) battery x 2Video lead x 175-ohm coaxial aerial lead x 1DVD+RW blank disc x 1ACCESSORIESCONTENTSPRECAUTIONS ...
29Editing TitlesEditing Recording Titles (name)Some TV stations transmit the title (name) of a programme. In this case, the name will be included auto
30Finalising DVD+R DiscsThis feature is required to play back a DVD+R disc in a DVD player. Once the disc has been fi nalised no further recordings or
31When you press SYSTEM MENU, the following menu will be displayed. In this menu, you can change various settings on the DVD recorder to suit your par
32Audio Output Settings1. Turn the TV on and select input from the DVD recorder. (For details on operation methods, refer to your TV’s manual.)2. Pre
33Setting Item ExplanationPBC Enable This function lets you activate or deactivate the PBC menu (Playback Control) for VCD only.When you press the k b
34Recording Settings1. Turn the TV on and select input from the DVD recorder. (For details on operation methods, refer to your TV’s manual.)2. Press
35Setting Item ExplanationEnter Code The passcode for setting parental level is required. (When the DVD recorder is shipped from the factory, no passc
36TROUBLESHOOTINGCheck the following guide for the possible cause of a problem before contacting service. Symptom Cause SolutionThe unit does not work
37Symptom Cause SolutionCannot record or did not record successfully.- The remaining blank space on the disc is insuffi cient. - Use another disc.-
38MAINTENANCECleaning the cabinetUse a clean soft cloth moistened with plain lukewarm water and wrung dry. Never use benzol, benzene or other strong c
3PART NAMES & FUNCTIONSFront PanelYou can operate the DVD recorder using the remote control or the buttons on the front panel of the DVD recorder.
(UK) 1AD6P1P2118--SANYO Electric Co., Ltd.GUARANTEE TO CUSTOMERSanyo Europe Ltd. (the Company) guarantees to the initial retail purchaser that if this
4Rear Panel134 981025671 ANTENNA IN Aerial input: Socket into which aerial input is connected. p.92 ANTENNA OUT Aerial output: Socket from where aeria
5Remote ControlTV/DVD ZOOMT/CPLAY MODER.SLOW F.SLOW F.REV F.FWDREC MODEPAUSE PREV NEXTRECOKEDITDISPLAYDISCMENUSYSTEMMENUCH/INPUTMUTEVOLTVSURROUNDLEVEL
6Inserting batteriesInstall two “R6 (HP 7)” batteries.NOTE:- Remove the batteries if the remote control is not to be used for a month or more. Batter
7Status display on TV screenThe DVD status is also displayed on the TV screen. The status is displayed in the Status Display and Channel/Clock Display
8Playable DiscsDisc Type Logo MarkDVD videoDVD+RWDVD+RAudio CDNOTE:- Only the above types of discs can be played on this unit.DVD-Audio, DVD-ROM, DVD
Related products and manuals for Digital Video Recorders (DVR) Sanyo DVR-HT120
 (34 pages)
© 2020, manymanuals.com. All rights reserved. | 4.298 s |
 Manymanuals.com
 Manymanuals.de
 Manymanuals.fr
 Manymanuals.it
 Manymanuals.pl
 Manymanuals.cz
 Manymanuals.es
 Manymanuals-pt.com
Comments to this Manuals